Defining JD Edwards Orchestrator Jobs
Upon completion of the adapter configuration, Tidal Automation is ready for you to create, run, and monitor JD Edwards Orchestrator jobs.
Used to define job parameters, the JD Edwards Orchestrator Job Definition dialog contains not only standard TA job definition functionality, but a tab that is specific to JD Edwards Orchestrator jobs.
This section explains how to define a job in TA and a description of the options that can be included in these jobs.
JD Edwards Orchestrator Job Definition
To define a JD Edwards Orchestrator Job:
-
Click Definitions > Jobs on the Navigation pane to display the Jobs pane.
-
Right-click Jobs and choose Add > JDE Orchestrator from the context menu.
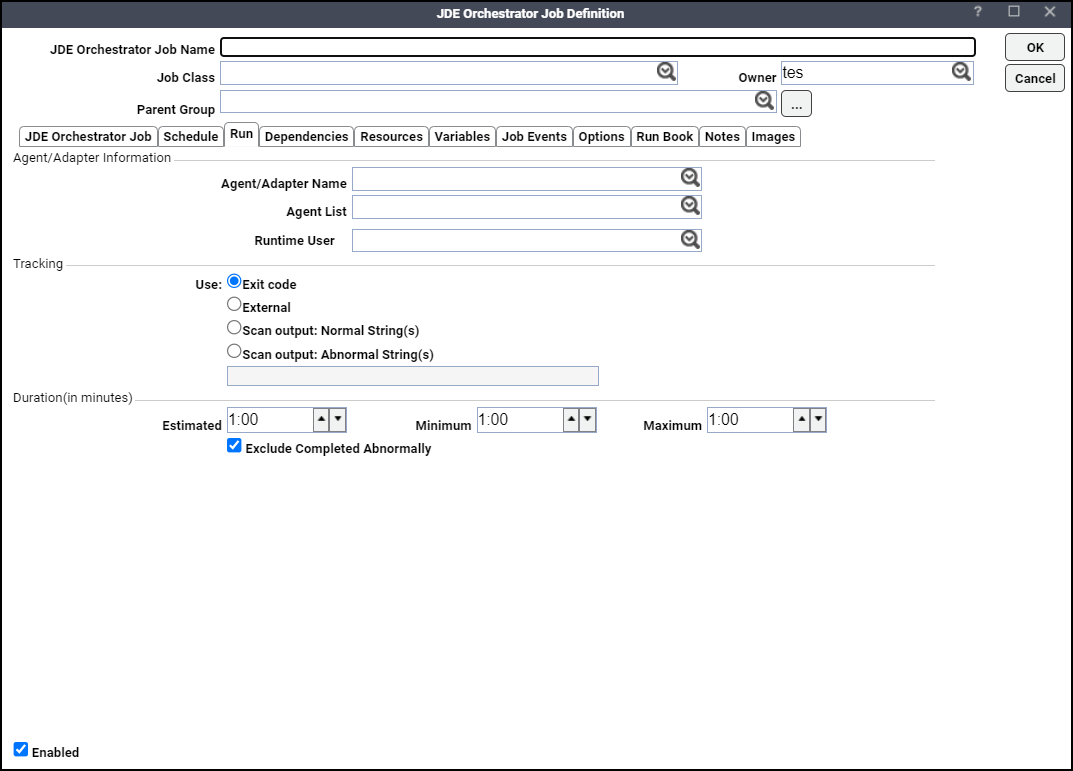
The JDE Orchestrator Job Definition dialog appears. The Run tab displays by default.
-
Describe the job using these fields:
-
JDE Orchestrator Job Name – Enter a name that describes the JD Edwards Orchestrator job.
-
(Optional) Job Class – To assign a defined job class, choose the class from the drop-down menu.
-
Owner – Click the user or group that owns the job from the drop-down list.
-
Parent Group – For a job that will reside inside a job group, choose the parent group name from the drop-down list. All properties in the Adapter/Agent Information section are inherited from the parent job group.
-
-
Specify the connection information in the Agent/Adapter Information section:
-
Agent/Adapter Name – Click the connection for this job from the drop-down list.
-
Agent List – An agent list is a grouping of defined connections to JD Edwards Orchestrator instances. Only JD Edwards Orchestrator agent lists that were defined in the Agent List window are displayed. When the job runs, Tidal Automation attempts to connect with the first agent in the list. If the connection is unsuccessful, an attempt is made to connect to the next listed agent, until a successful connection is established.
You should ensure that the job can run on any of the connections in the agent list. If the job is assigned to a connection that it cannot run on, the job fails with an Error Occurred status.
Note: If you choose an agent list, the Agent Name value is reset.
-
Runtime User – Click a valid runtime user for the job.
Specify the appropriate Tracking and Duration information for the job.
-
-
(Optional) Click the Options tab, specify the input value Defer until complete in the If job is currently running field.
-
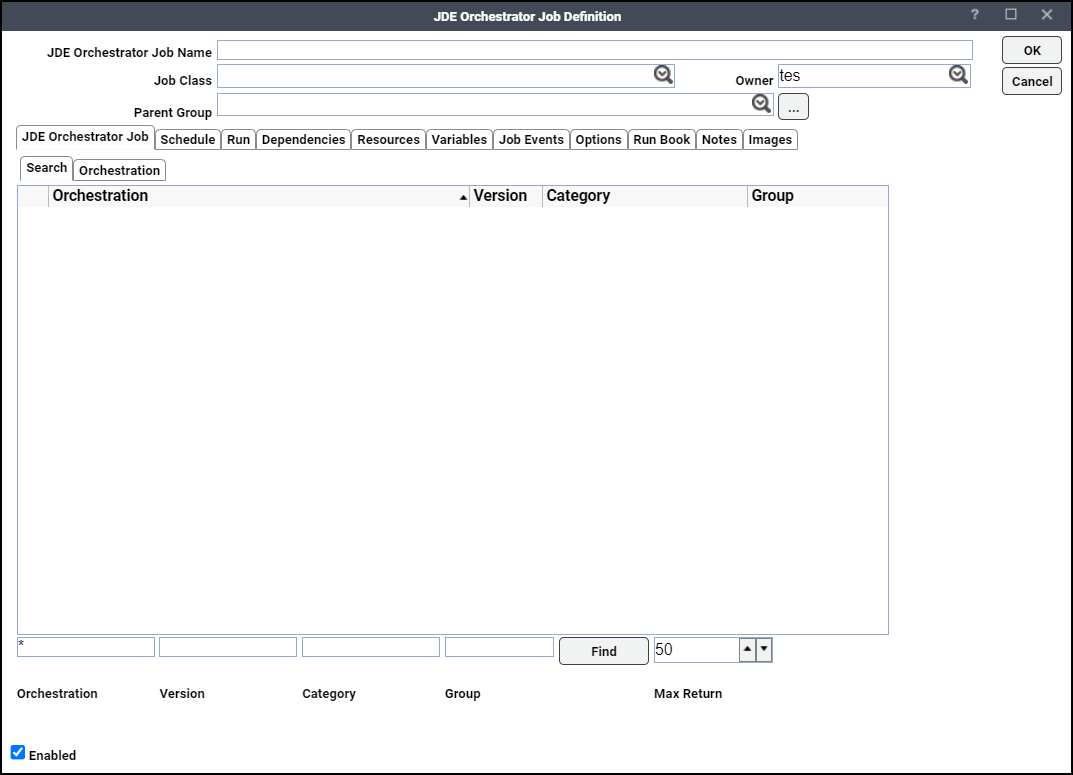
Click the JD Edwards Orchestrator Job tab. The Search tab appears.
-
Input search criteria in the Orchestration, Version, Category, and Group fields. Click Find to list the Orchestrations in the Search grid.
Note: By default, the Search grid displays up to 50 records at a time. You can modify the number of records to be displayed in the grid by specifying the count in the Max Return field.
-
To choose an Orchestration, either double-click a listed Orchestration or click a listed Orchestration and click Select. This displays the Orchestration tab with these details:
-
Name – Displays the name of the Orchestration.
-
Version – Displays the version of the Orchestration.
-
Category – Displays the category of the Orchestration.
-
Group – Displays the group name of the Orchestration. For example, Shared.
-
Description – Displays the description of the Orchestration.
-
-
Input values for each listed parameter name in the Parameters section.
Note: The parameters marked with an asterisk (*) are mandatory.
Note: The above screen shows example parameters. The parameters that you will provide in the Parameters section are based on the orchestration you select.
-
(Optional) Click Send Blank Values option. The default is to ignore blank inputs. Choosing this option causes TA to include parameters with no values in the request when invoking the Orchestration.
-
(Optional) Click Raw Input option to input all parameter values as a single JSON (JavaScript Object Notation).
The default options for job output are set on the Defaults tab of the System Configuration dialog. If you wish to override the default setting for job output of an individual job instance, click the Options tab and choose the desired Save Output Option setting.
Note: When the Summary Only option is checked, TA does not save the detailed output of an Orchestration. Uncheck the Summary Only option to enable TA to save the detailed output of an Orchestration.