Defining a JD Edwards Adapter Connection
Create one or more JD Edwards connections before TA can run your JD Edwards jobs. License these connections before TA can use them. A connection is created using the Connection Definition dialog.
Adding a JD Edwards Adapter Connection
To add a connection:
-
Navigate to Administration > Connections to display the Connections pane.
-
Right-click Connections and then navigate to Add Connection > JD Edwards Adapter. The JDEdwards Adapter Connection Definition dialog displays.
-
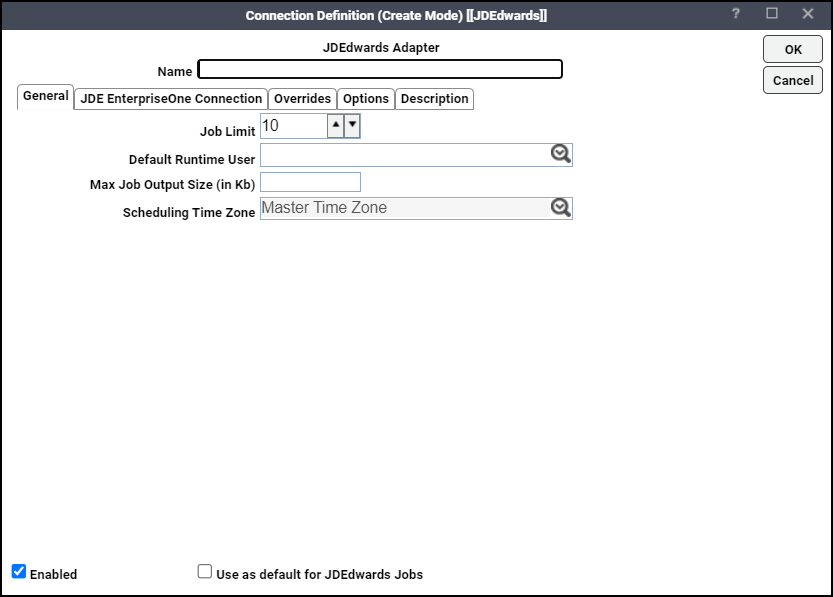
Enter a name for the new connection in the Name field.
-
Click the Job Limit field, and than choose the maximum number of concurrent active processes that TA should submit to the JD Edwards server at one time.
-
Click the Default Runtime User drop-down list. You have the option to choose the name of a default user for JD Edwards jobs.
The runtime user is used for authentication with JD Edwards to authorize scheduled operations.
Only authorized users that have been defined with JD Edwards passwords display in this list. The selected user is automatically supplied as the default runtime user in a new TA JD Edwards job definition.
-
Specify the maximum output limit of the job in Kb in the Max Job Output Size (in Kb) field.
-
If the value is set to blank, the output in the jobrun displays the entire output.
-
If the value is set to any non-numeric value or negative value, error message appears.
-
If the value is set to zero, the complete job output is truncated.
-
If the value is set to any Integer value up to 2097151, the output in the jobrun displays the truncated output.
Note: When the output of one job is used for another job, the setting of this parameter value must be taken care accordingly.
Note: For jobs with Exit Code or Scan Output option selected, this parameter is not applicable.
-
-
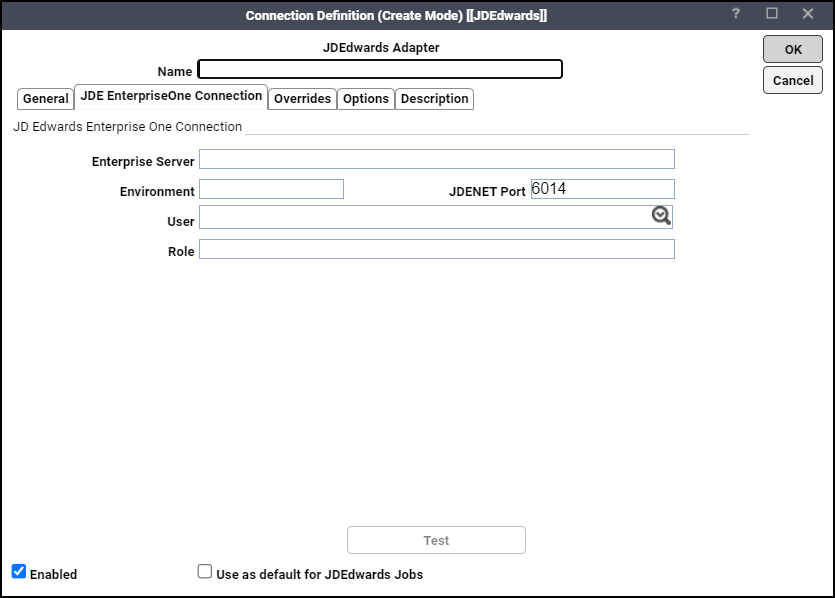
Click the JDE EnterpriseOne Connection tab.
-
Enter the name of your JD Edwards server in the Enterprise Server field.
-
Enter the environment that you are connecting to in the Environment field.
-
Enter the JDEnet listener port in the JDENET Port field.
To determine the correct port to enter, see the section of the JDE.INI configuration file on the Enterprise Server:
[JDENET]
serviceNameListen=6014
serviceNameConnect=6014 -
Click the associated Runtime User for JD Edwards to be used for connecting to JD Edwards.
Note: This is a persistent user connection to JD Edwards that is only used for administration and monitoring and for jobs with a matching runtime user. Jobs with a different runtime user specified will create additional temporary connections.
-
Enter a role associated with the user in the Role field.
-
Click Test to test the connection.
-
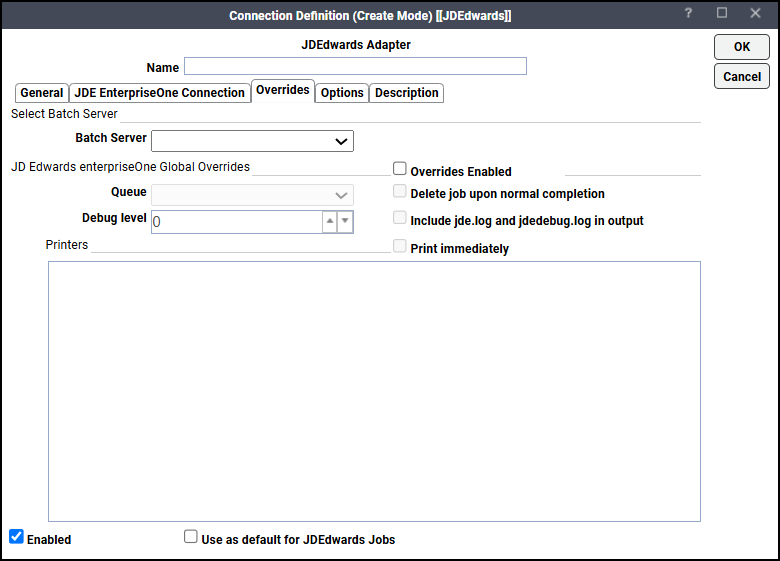
Click the Overrides tab. Use this dialog to temporarily override all jobs that use this connection.
Note: The Batch Server field is locked for editing.
-
Check the Overrides Enabled checkbox if you want to override values that apply to all jobs that use this connection.
Note: This can be useful to temporarily debug an issue or to delete jobs while you are running tests.
-
Complete this information in the JD Edwards EnterpriseOne Global Overrides section:
-
Queue – Choose a queue from the drop-down menu. If blank, the default queue for the UBE is used.
-
Debug level – Click the up arrow or down arrow to set the debug level. Valid values are 0 to 6.
-
Delete job upon normal completion – Optionally check this checkbox to delete the job and its output when the job completes normally.
-
Include jde.log and jdedebug.log in output – Optionally check this checkbox to include the text from the log and debug log for the UBE process.
-
Printer(s) – Click the printers that you want to use.
-
Print immediately – Click to send output to the chosen printer(s).
-
-
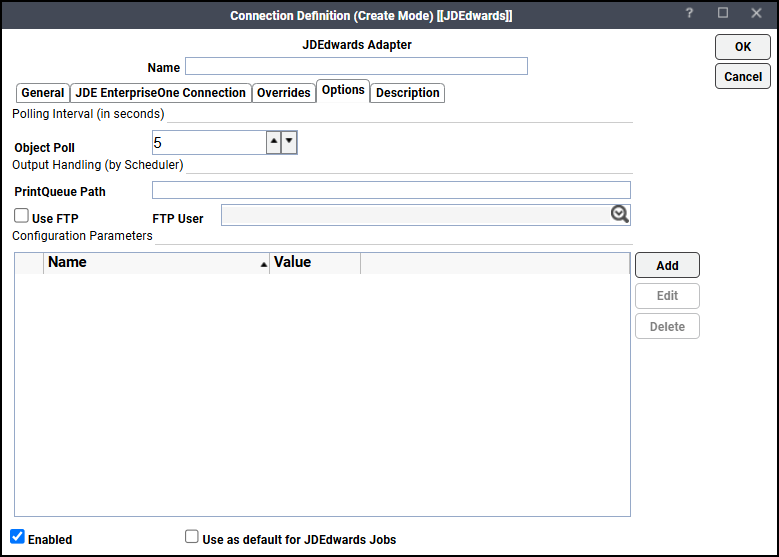
Click the Options tab to configure parameters for this connection.
-
Complete this information in the Output Handling (by Scheduler) section:
-
PrintQueue Path – Enter the path as follows:
If you are going to use FTP for job output, the path is an absolute or relative path based on the home directory of the chosen FTP logon. The FTP server defaults to the batch server for the job.
The path needs to point to the environment's PrintQueue folder where PDF output and logs are created. The adapter retrieves files that follow the prefix naming convention <UBE>_<Version>_<JobNo>_PDF.
If you are not going to use FTP for job output, enter a valid mapped drive letter or a UNC path (\\host-name\share-name\file_path).
Example: \\JDEENV.com\e$\JDEdwardsPPack\E910\PrintQueue\
The TA master service account needs to have access to the mapped drive or UNC path.
Enter the path to the output file from the perspective of the TA master. For example, if the PrintQueue folder is on a machine mapped on the TA master as the O: drive, but mapped on JD Edwards as the H: drive, the path entered here should use the O: designation. You can use UNC conventions and mapped drives to specify locations on remote machines. If the batch server is not running under Windows you need to have an NFS mount so that the Windows Scheduling master has access to the files, although it is recommended that you choose to use FTP in this case.
The absolute pathname is needed. Provide the full pathname which includes the root directory and the descending series of subdirectories leading to the resulting PrintQueue folder.
-
Use FTP – Click if the TA should FTP the JDEdwards job output rather than reading the file directly over the network.
-
FTP User – Select an FTP user.
To add parameters, click Add to display the Configuration Parameter Definition dialog.
These parameters are available:
DEBUG – Turns the debugging function on or off. When set to ON, diagnostic data is added to the adapter log and job output. You may be asked to turn this option on when working with technical support to investigate an issue.
Note: The Debug tab only shows in the Job Definition dialog if this option is enabled.
JDELAUNCHDELAY – The minimum number of milliseconds to delay between submitting UBE requests to the server. The JDE kernel sometimes has trouble if multiple UBEs are launched simultaneously. 100 ms is recommended.
PRINTERWAIT –The next printing session waits until the current session is completed. The default wait time is 1000 milliseconds.
PRINTERNEWSESSION – Set to Yes to end the current printing session and start a new session. For any print failure, an error message is displayed. The default value is No.
FTPQUOTESITE – Set to Yes to ensure that the QUOTE SITE command is issue after the FTP user data is read.
FTPBINTYPES – The log files and output files with the specified file type extension are transferred using FTP. By default, the binary file transfer type is used for the .pdf or .PDF file extension. On the other hand, the ASCII file type is used for other file extensions.
DIRECTFILETYPES – Specifies a comma-separated list of file types based on which the files in the PrintQueue path are filtered. By default or if no value is specified, it searches through all the files in the PrintQueue path.
Example: PDF.pdf, PDF.csv, PDF.jdedebug.log.
JDENETTIMEOUT – Specifies the time before the current jdenet session times out. Default value is 120 seconds.
CACHEUBES – Set to N to fetch the UBE values from the JDE server and not from the cached list in the adapter. The default value is Y.
DSOVERRIDE – Set to N to stop override of the data selection values in Tidal. The default value is Y.
DEFAULTEXTENSION – Specifies the default extension value of files with no extension in PrintQueue path.
POOVERRIDE – Set to N to stop override of the processing option values in Tidal. The default value is Y.
JDELAUNCHTIMEOUT – Timeout value before a launch request would timeout. The default value is 60 seconds.
SKIP_OUTPUT – Set to Y to skip the output of job unless the job status is "E" (error). The default value is N.
-
-
Click OK to save the new JD Edwards connection. The configured connection displays on the Connections pane. The status light next to the connection indicates whether the TA Master is connected to the JD Edwards server. If the light is green, the JD Edwards server is connected.
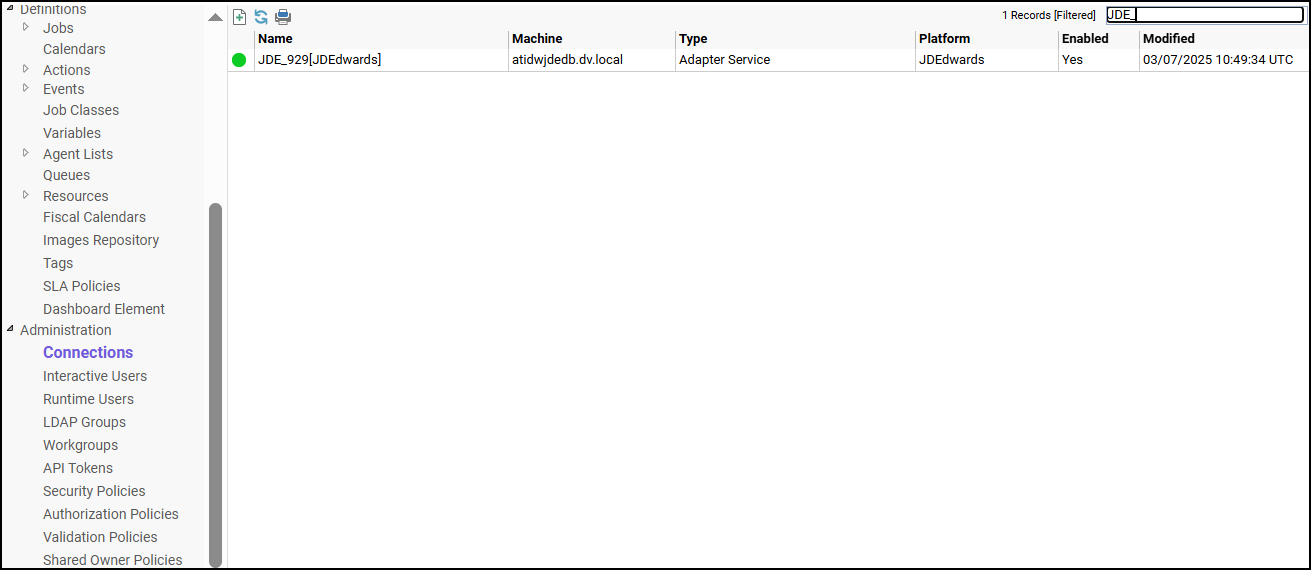
Note: You can only define jobs from the Client if the connection light is green.
A red light indicates that the master cannot connect to the JD Edwards server. JD Edwards jobs will not be submitted without a connection to the JD Edwards server. If the light is red, you can test the connection to determine the problem. Right-click the connection and click Test. A message displays on the Test JD Edwards Connection dialog describing the problem. Or go to Operator > Logs to look for error messages associated with this connection.