Defining a Kubernetes Job
To define a Kubernetes job:
-
Click Definitions > Jobs to display the Jobs pane.
-
Right-click Jobs and choose Add > Kubernetes Job from the selection menu.
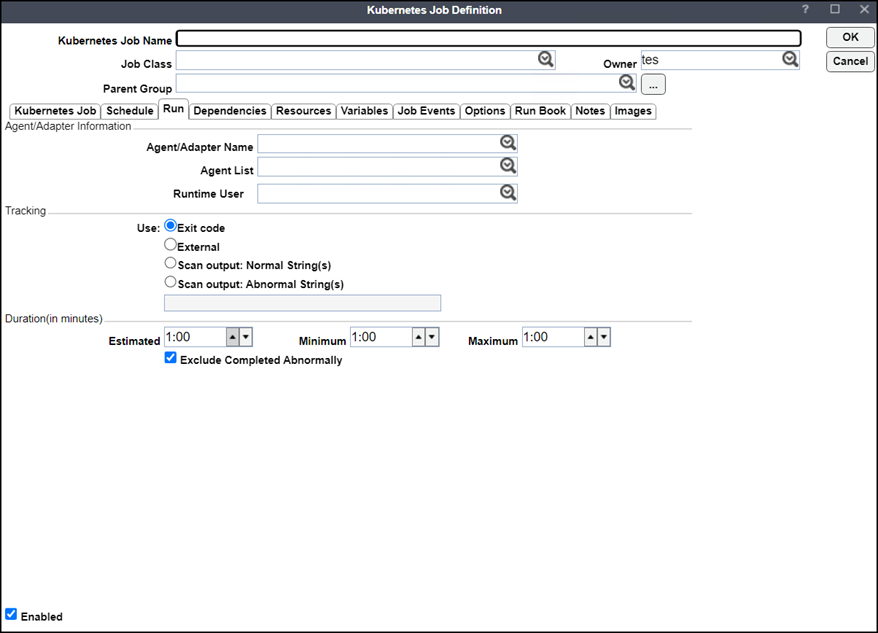
The Kubernetes Job Definition dialog is displayed. The Run tab is selected by default.
-
Enter information to describe the job in these fields:
-
Kubernetes Job Name – A name that describes the job.
-
Job Class (optional) – To assign a defined job class, choose the class from the dropdown list.
-
Owner – Click the user or group that owns the job from the dropdown list.
-
Parent Group – For a job that resides inside a job group, choose the parent group name from the dropdown list. All properties in the Agent/Adapter Information section are inherited from the parent job group.
-
Inherited – When a checkmark appears in this field, child jobs in a job group assume the properties of their associated parent jobs.
-
-
Click the connection to be used for this job from the Agent/Adapter Name dropdown list in the Agent/Adapter Name section.
Note: Fields in the Tracking and Duration (in minutes) sections are not used to add a Kubernetes job.
-
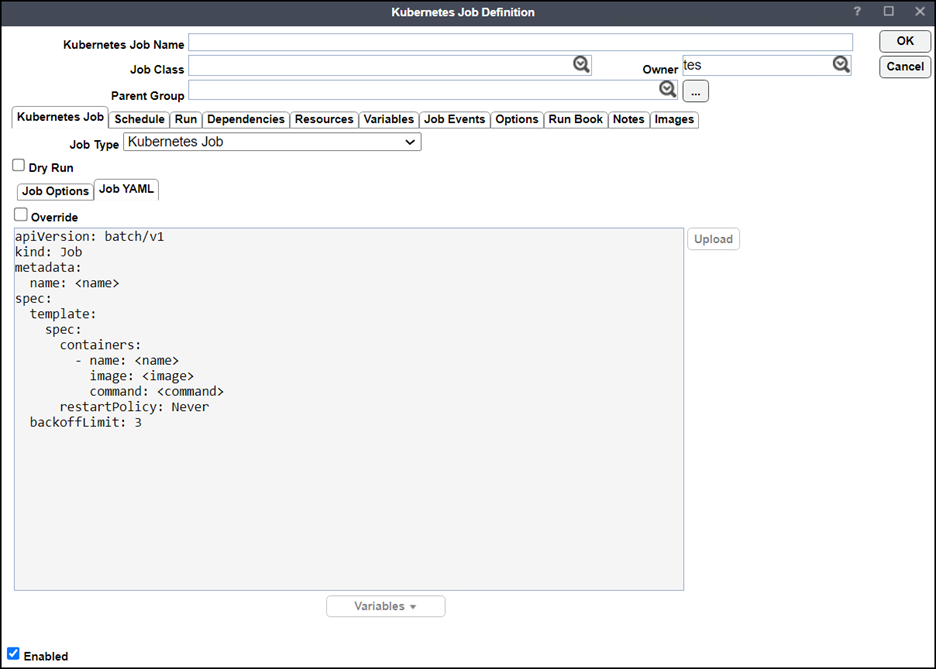
Check the Dry Run checkbox in the Kubernetes Job tab to validate the job to be validated only when scheduled. Validation includes verifying the validity of your YAML configuration.
-
Define a job in the Kubernetes instance using either the Job Options or Job YAML tabs.
Note: Choosing the Job YAML option and selecting the Override checkbox results in the content in the Job YAML tab replacing information in the Job Options tab.
The Job Options tab
-
Namespace – Mandatory field. In the dropdown list, choose a namespace for running the job.
-
Name – Mandatory field. Enter a job name to identify your job in the Kubernetes instance, according to these rules:
Contains a maximum of 253 characters.
Contains only lowercase alphanumeric characters. “-“, or “.”
Starts with an alphanumeric character.
Ends with an alphanumeric character.
-
Use suffix – A checkmark in this checkbox indicates that TA adds the variable (<JobID>) automatically to a job and pod names to make the job name unique.
-
Image – Mandatory field. Use this schema for image naming:
<Registry Hostname>/<Image Name>:<tag>
Note: If the registry hostname is not specified, Kubernetes defaults to the Docker public registry. If a tag is not specified, Kubernetes uses the latest tag.
-
Command – Mandatory field. Enter commands using Bourne shell (sh) syntax.
-
Number of retries – Specify the number of retries to be performed before considering the job to be failed.
-
Restart policy – In the dropdown list, choose the applicable restart policy:
Never – Do not automatically restart the container.
On Failure – Restart the container if it exists due to an error which manifests as a non-zero exit code.
-
Delete Kubernetes job after execution – A checkmark in this checkbox means that the pod and Kubernetes job are automatically deleted when the job completes successfully. By default, this checkbox is not checked.
The Job YAML tab
This functionality can be used to check information in the Job Options tab or override the information displayed in the Job Options tab.
-
Override – Check this checkbox so that a checkmark displays. The checkmark indicates the content in the Job YAML tab overwrites information in the Job Options tab. Note that you cannot edit the fields in the Job Options tab.
-
Tags – Optionally, you can edit Business Activity tags or Filter tags by selecting this dropdown list. See the Tidal Automation User Guide for information about Tags.
-
Variables – Use this dropdown menu to access System Variables, SLA Variables, Job Variables, or Job Run Variables. See the Tidal Automation User Guide for information about these variable types.
-
Enabled – A checkmark in this checkbox indicates the connection is active.
To add a YAML file:
-
Click Upload.
-
Click OK to save your entries.