Installing the Unix Master from the Command Line
The Unix Master can be installed using the installer program or from the command line.
To install from the command line:
-
Download the Tidal Automation Base Product software for your environment from support.tidalsoftware.com.
-
Extract the files.
-
Copy install.bin from the UnixMaster directory to the target machine.
-
Change the permissions on the install.bin file in the directory to make the file executable:
chmod u+x install.bin
-
Open a command prompt window and enter:
# sh ./install.bin -i console
-
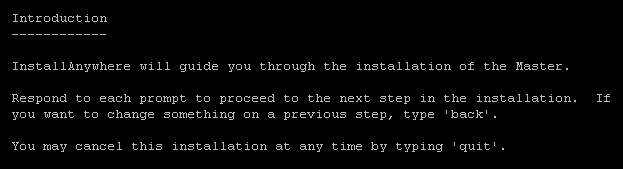
Press Enter. The screen is displayed as the installation program begins.

The initial installation screen is followed with the Introduction screen that provides instruction for proceeding with the installation program.
-
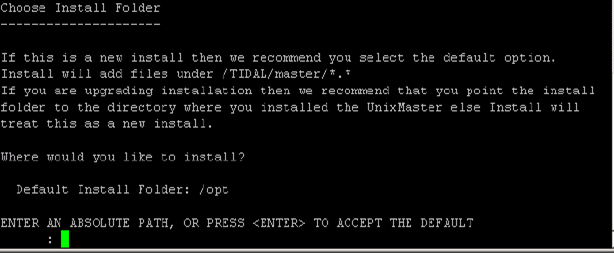
Press Enter. The Choose Install Folder screen appears.

-
Enter the directory path where the Master files are to be installed. It is recommended that you use the default directory path when installing. If you want to change the default directory, enter the absolute path.

-
Press Enter. The Select Master Type screen appears.
Installing Primary or Backup Master
-
Do either of these on the Select Master Type screen:
-
Select the Primary option by entering 1 at the prompt.
-
Select the Backup option by entering 2 at the prompt.
A fault-tolerant installation requires a special license. If you are using fault tolerance, be sure to install the Primary Master before you install the Backup Master. Refer to the Installing Fault Tolerance for more information about installing fault tolerance.
-
-
Enter 1 at the prompt to enter the disaster recovery details or enter 2 to navigate to Database Type screen.
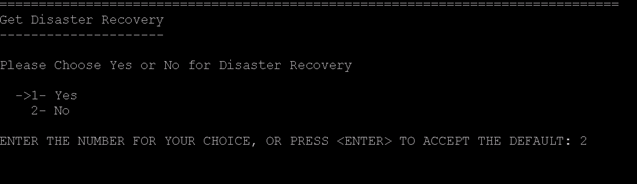
When you enter 2, the Database Type screen is displayed.
-
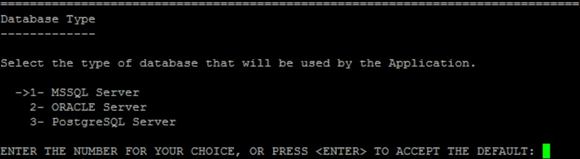
Select one of these options:
-
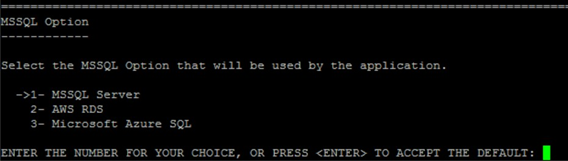
MSSQL Server. The screen is displayed. Enter the required option.
-
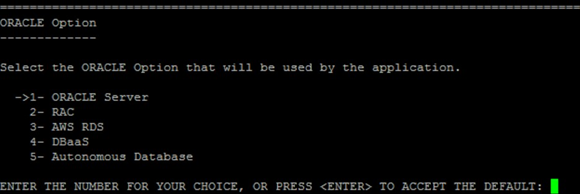
ORACLE Server. The screen is displayed. Enter the required option.
-
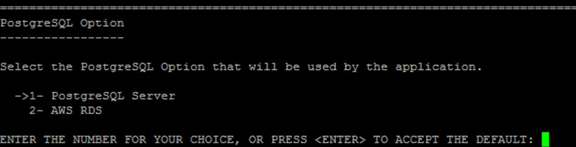
PostgreSQL Server. The screen is displayed. Enter the required option.
-
-
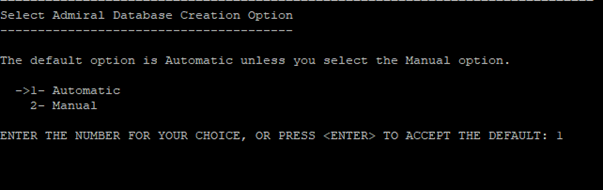
Enter 1 on the Select Admiral Database Creation Option screen at the prompt to create an Admiral Database automatically or enter 2 to create an Admiral Database manually.
-
Specify the wallet configuration path if you have selected the ORACLE Server option from the Database Type screen and the Autonomous Database option from the ORACLE Option screen:

-
Specify the DB Login ID, Password, and Consumer Group details to connect to the Oracle Autonomous database.
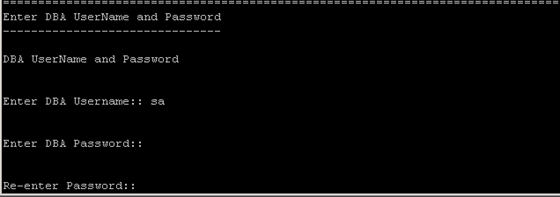
If the you have not selected the Autonomous Database option in the ORACLE Option screen, the Enter DBA Username and Password screen is displayed. Specify the information so that the Unix Master can validate with database:
-
Enter DBA Username – DBA username.
-
Enter DBA Password – DBA password.
-
Re-enter Password – Re-enter the password provided for DBA.
-
-
Specify the information so that the Unix Master can connect to the database:
For Oracle:
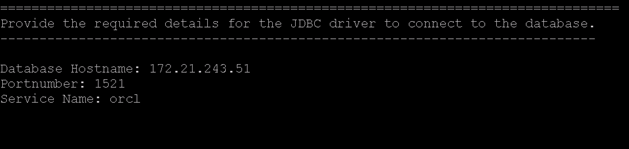
Database HostName – Enter the hostname of the database server.
Portnumber – Enter the port number of the JDBC driver.
Service Name – Enter the Oracle System ID.
Note: If the Oracle database is pluggable (Multi Tenant) or RAC, then enter the Pluggable Database (PDB) name.
For Oracle RAC:
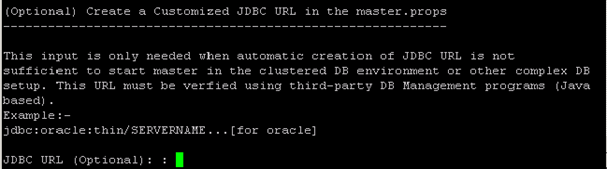
Enter the custom URL for Oracle RAC.
If you have selected the DBaaS option in the ORACLE screen, the Database User screen appears.
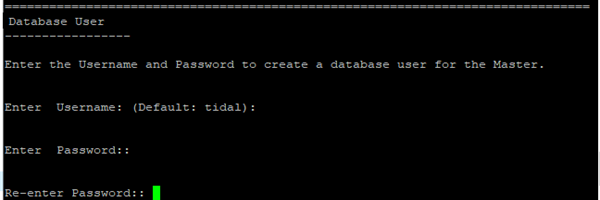
Enter the username and password credentials for the new user. Re-enter the password to confirm the password.
Note: The default username is tidal. The username can be modified.
For Oracle:
Enter these details on the Admiral Tablespace information screen:
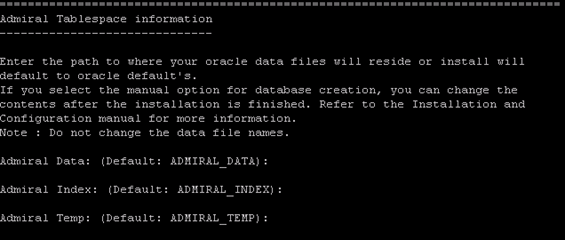
Admiral Data – Enter the Admiral Data; otherwise, accept the default names.
Admiral Index – Enter the Admiral Index; otherwise, accept the default Names.
Admiral Temp – Enter the Admiral Temp; otherwise, accept the default Names.
Entering the above details enables navigating to the Read-Only User screen.
For PostgreSQL Server:

Database HostName – Enter the hostname of the database server.
Portnumber – Enter the port number of the JDBC driver.
Database Name – Enter the Admiral database name.
For Microsoft SQL Server:

Database HostName – Enter the hostname of the database server.
Note: If you are configuring with the SQL Server Cluster, then enter the Virtual IP address in the Database Hostname field.
Portnumber – Enter the port number of the JDBC driver.
Database Name – Enter the Admiral database name.
-
Press Enter and provide the Admiral data path and the Admiral log path in the Admiral Database and Transaction Log File Path screen.
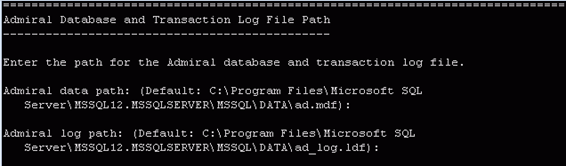
Note: The Admiral Database and the Transaction Log File Path should be entered based on the SQL server installed location (Window or Unix).
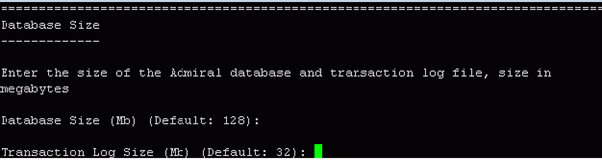
Press Enter. Provide the Database Size and the Transaction Log Size in the Database Size screen.
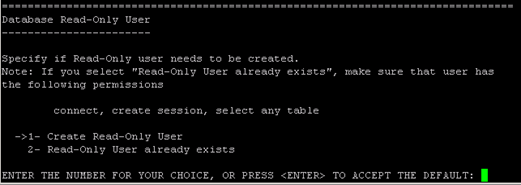
For MSSQL: Database Read-Only User.
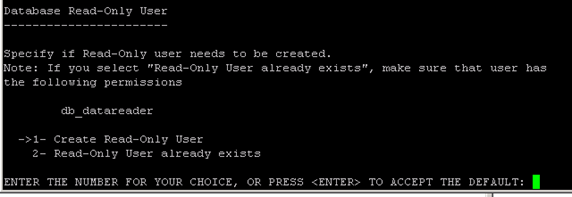
Enter 1 at the prompt for Create Read-Only User, and press Enter to navigate to Database Read-Only Creation screen.
OR
Enter 2 at the prompt for Read Only User Already Exists, and press Enter to navigate to Master Hostname.
For Oracle: Database Read-Only User Panel.
Enter 1 at the prompt for Create Read Only User, and press Enter to navigate to Database Read-Only Creation screen.
OR
Enter 2 at the prompt for Read Only User Already Exists, press Enter to navigate to Master Hostname.
For PostgreSQL : Database Read-Only User Panel.
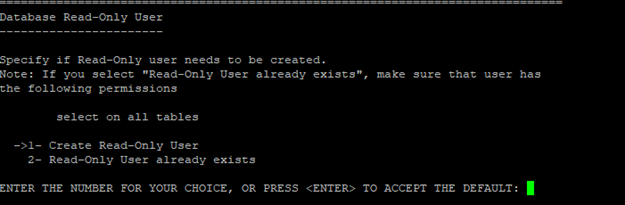
Enter 1 at the prompt for Create Read Only User, and press Enter to navigate to Database Read-Only Creation screen.
OR
Enter 2 at the prompt for Read Only User Already Exists, press Enter to navigate to Master Hostname.
Database Read-Only User Creation.
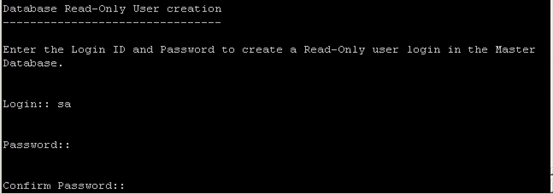
Enter information in the Login, Password, and Confirm Password fields to navigate to the Master Hostname.
-
Click Enter. The Master Hostname screen is displayed.

-
Enter the name of the machine where you are installing the Master. Do not include the domain name in your entry.
Note: If you are installing fault tolerance, this screen does not display when installing the Backup Master.
-
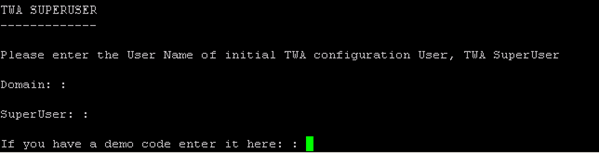
Click Enter. The TA SUPERUSER screen is displayed.
-
Enter the:
-
Domain of the Super User.
-
Name of the initial TA configuration SuperUser.
-
Demo code, if you have one.
Note: The TA SUPERUSER screen is displayed only for the new database installation.
-
-
Press Enter. The Get Authentication Method screen is displayed.
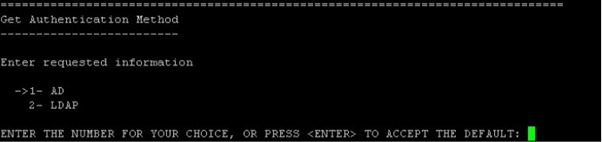
Configuring Active Directory Authentication or LDAP Authentication
-
Enter on the Get Authentication Method screen
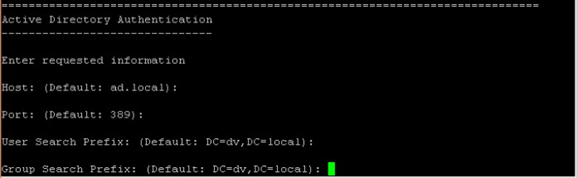
1 at the prompt and press Enter to display Active Directory Authentication screen.
OR
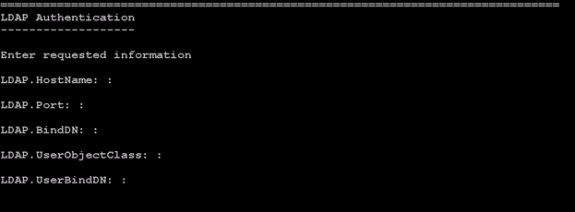
2 at the prompt and press Enter to display the LDAP Authentication screen.
-
Press Enter to accept all the existing AD or LDAP configuration values. If required, you can provide a AD or LDAP configuration value by typing the new value and pressing Enter.
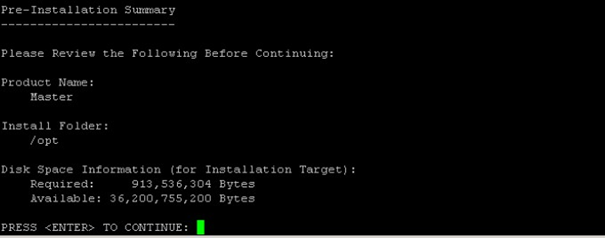
Completing the Master Installation
After the AD or LDAP configuration, the Pre-Installation Summary screen is displayed:
-
Review the accuracy of the information.
-
Press Enter to begin the installation.
OR
If any of the information is incorrect, you can type QUIT to cancel the installation or you can continue with the installation and make corrections in the master.props configuration file. The Installing screen is displayed. When completed, the Installation Complete screen is displayed.
-
Press Enter to exit the installer.
-
Verify successful installation of the Master files.
Note: If you are installing the Unix Master from the command line, you must also manually install the database as a separate procedure.